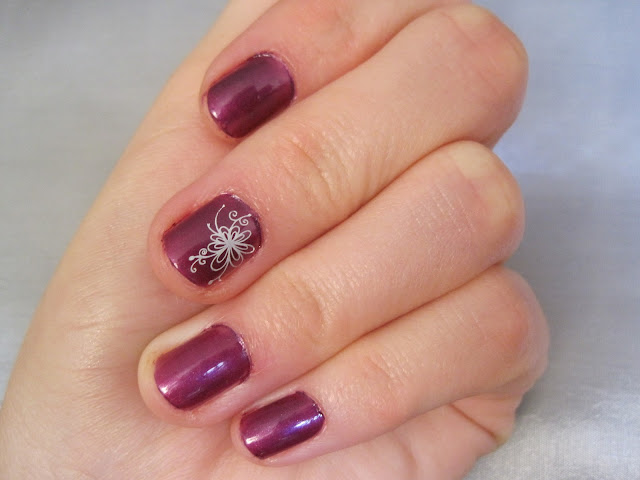
Nail Polish Canada sent me a Konad Nail Stamping kit to try out. I love trying new things but wasn't sure how I'd feel
about this as I'm not big into designs on my nails (unless it's like an angled neon french mani
There are seven designs to choose from on the disc that are each super intricate. The process is pretty simple:
1. Paint your nails, let them dry.
2. Paint the disc/design with the polish that comes in the kit.
3. Scrape it off with the provided blade.
4. Pick up the design with the rubber stamp.
5. Transfer it to your nail by simply rolling the stamp across your nail.
Voila!
Simple and looks so great. I don't like the idea of stamping each
finger, so I just stamped one on each hand. This would look great on
toes too.


4 comments
I tried one of their kits, many times, for me i found it did not work :)
@Anon: I find if you don't use nail polish remover to clean the stamping disc, it will not work the next time.
Always start with a clean disc. If the designs get filled w polish, there is no where for the polish to settle in for the stamp to pick up.
After two or three stamps of the same polish, I say clean it, and then stamp again.
this is really cute and looks great! But I swear I would mess it up. I am horrible at nails!
They came out great! SO pretty!
Post a Comment